Step-by-step recipe for lemon cookies with vegetable oil and lemon zest: from mixing the dough to baking, cooling and storing.
Oil cookies turn out thin, crisp at the edges and slightly softer in the center — without butter and without the hassle of softening it. Lemon works in two ways here: the zest gives a rich aroma, and the juice adds freshness and helps bring the dough together. The main thing is not to overwork the dough with flour: it should be soft, slightly sticky, but hold its shape.
Below are the exact proportions, the signs of the right consistency at each stage, and doneness guidelines that make it easy to tell when the cookies should come out of the oven.
- Estimated nutritional value
- Ingredients
- Dough
- For sprinkling
- Step-by-step cooking instructions in pictures
- Prepare the lemon
- Mix the wet ingredients
- Add the dry ingredients
- Chill the dough
- Shape the cookies
- Bake
- Cool
- Useful tips
- Ingredient substitutions
- Storage
- How to tell the dough is right
- Signs of doneness
- Taste and texture
Estimated nutritional value
| Per serving | |||
|---|---|---|---|
| Kcal | Proteins | Fats | Carbohydrates |
| 92 | 1,5 г | 4,1 г | 12,3 г |
| At 100 g | |||
| Kcal | Proteins | Fats | Carbohydrates |
| 408 | 6,7 г | 18,2 г | 54,7 г |
Ingredients
Dough
- wheat flour — 260 g
- sugar — 110 g
- odorless vegetable oil — 90 ml
- egg — 1 piece
- lemon juice — 2 tablespoons
- lemon zest — 1 tablespoon
- baking powder — 1 teaspoon
- salt — 1 pinch
For sprinkling
- sugar — 2 tablespoons
Step-by-step cooking instructions in pictures
-
Prepare the lemon
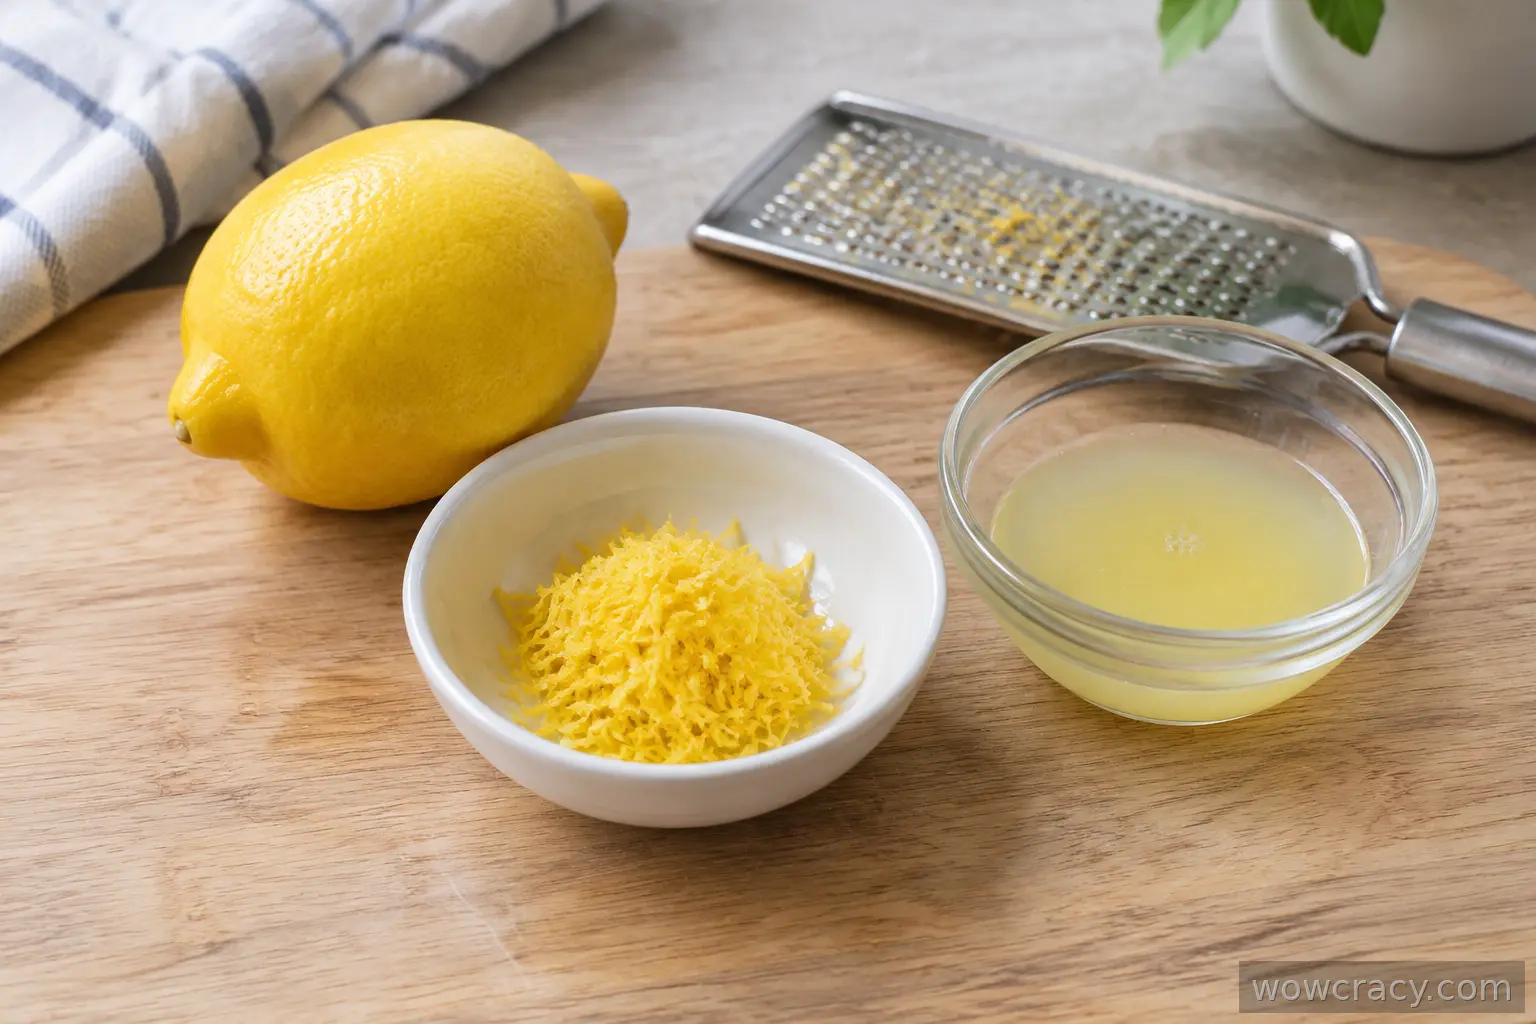
Wash the lemon and dry it well. Remove the zest with a fine grater, taking only the yellow layer without touching the white part, and squeeze out 2 tablespoons of juice. Set the zest and juice aside separately.
Step 1. Prepare the lemon -
Mix the wet ingredients
In a large bowl, beat the egg with the sugar (110 g) with a fork or whisk until smooth, for about 1 minute. Add the oil, lemon juice, zest and a pinch of salt and stir until combined.
-
Add the dry ingredients
Sift the flour with the baking powder into the wet mixture. Stir with a spatula until no dry patches remain, but do not overmix — the dough should be soft and slightly sticky. If it is too sticky, add flour 1 tablespoon at a time, up to 3 tablespoons maximum.
-
Chill the dough
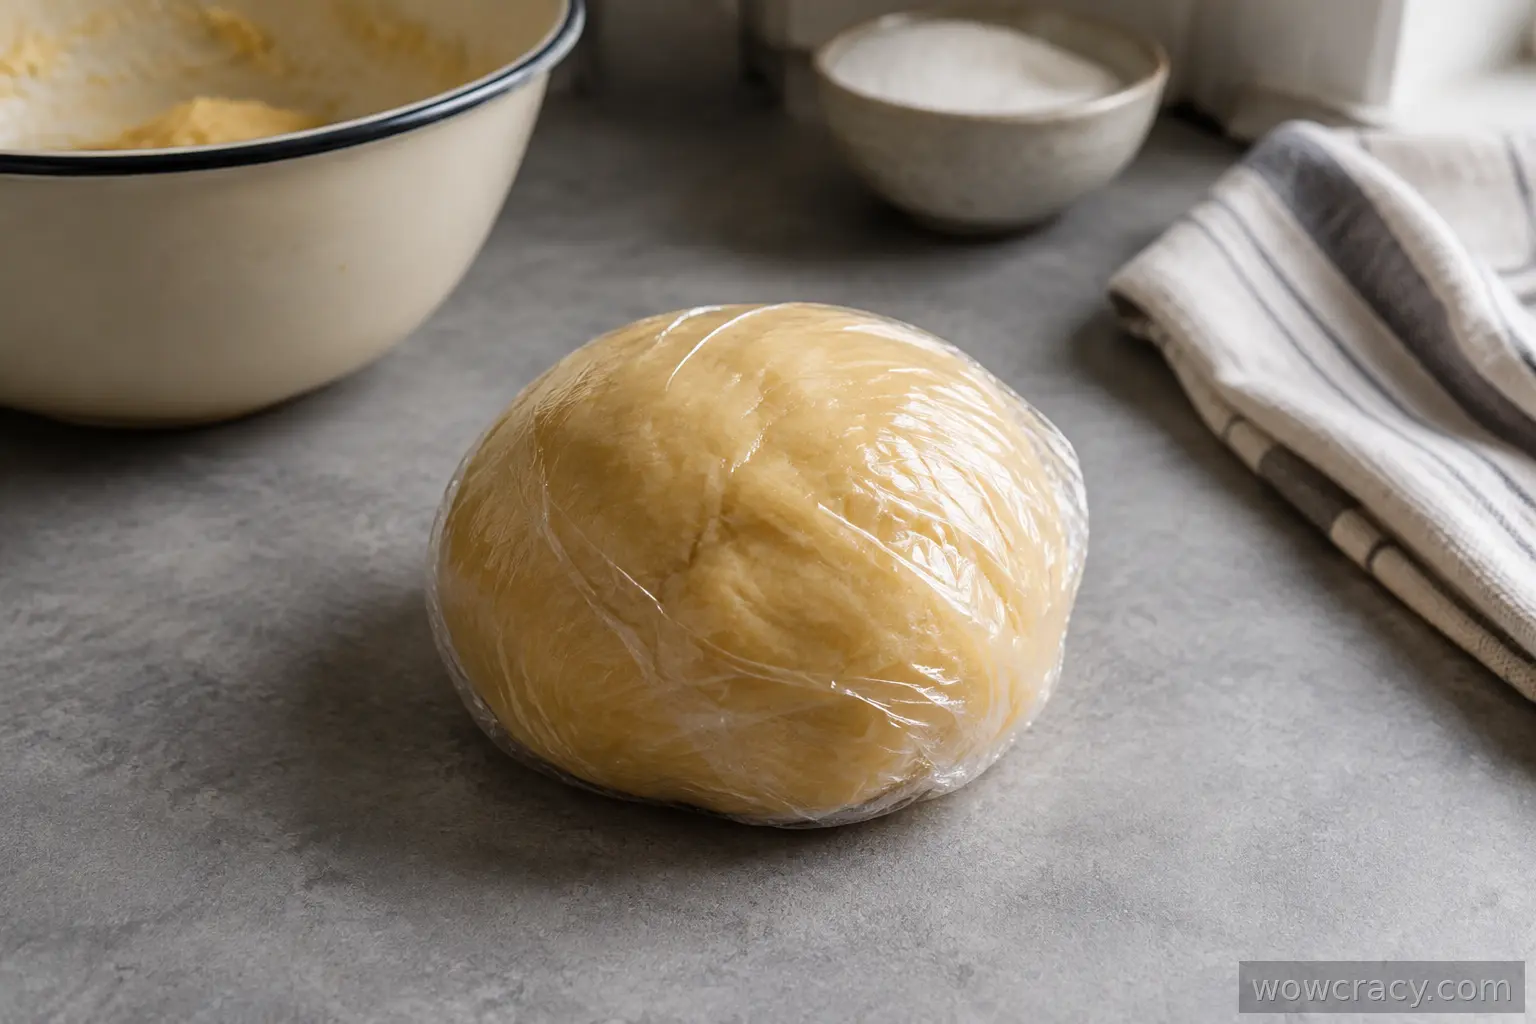
Gather the dough into a ball, wrap it in cling film and place it in the refrigerator for 20 minutes. Chilled dough sticks to your hands less and holds its shape better.
Step 4. Chill the dough -
Shape the cookies
Preheat the oven to 180 °C and line a baking sheet with parchment. Pinch off pieces of dough the size of a walnut, roll them into balls about 2,5 cm in diameter, roll them in the sugar for sprinkling and place them on the baking sheet 4–5 cm apart. Flatten each ball with your palm to a thickness of about 6–7 mm.
-
Bake
Bake on the middle shelf for 12–14 minutes, until the edges are golden brown and the center remains pale. Rotate the baking sheet once at about the tenth minute if your oven bakes unevenly.
-
Cool
Remove the baking sheet from the oven and leave the cookies on it for 5 minutes, then transfer to a wire rack to cool completely. Hot cookies are still soft — they will become crispier as they cool.
Useful tips
- Measure the flour by spooning it without heaping and sift it — this makes it easier not to use too much.
- If the cookies turn out too hard after cooling, next time reduce the baking time by 1–2 minutes or flatten the balls a little thicker.
- For an even size, weigh the pieces of dough at 18–20 g each.
- A dark-coated baking sheet may bake faster — check the cookies as early as the 11th minute.
Ingredient substitutions
- Instead of wheat flour, you can use a mixture of spelt flour and cornstarch in a ratio of 3:1, but the dough will be more tender.
- The sugar topping can be replaced with cinnamon and sugar, or the cookies can be left without topping.
- If you don't have a lemon, lime will work: use the juice and zest in the same quantities.
Storage
- Store cooled cookies in a tightly closed container at room temperature for up to 7 days.
- For longer storage, place the cookies in a container in layers, separating them with parchment paper, and keep in a dry place for up to 2 weeks.
- Do not store cookies together with moist foods — they will quickly lose their crispness.
How to tell the dough is right
After mixing, the dough should gather into a ball, be soft and slightly sticky to the fingers, but not spread. If it crumbles and doesn’t hold together — add 1 tablespoon of oil or lemon juice. If it’s too sticky — add flour 1 tablespoon at a time, no more than 3 tablespoons at once, and check the consistency each time.
Signs of doneness
The cookies are ready when the edges have turned golden brown and the center is still light and soft to the touch. Don’t rely on time alone: thin cookies can dry out in a few extra minutes. After the oven, let them cool completely on the baking sheet — this makes them crispier.
Taste and texture
The zest gives the most aroma, so remove only the yellow layer, avoiding the white bitter part. For a more pronounced lemon flavor, you can add a pinch of salt — it enhances the perception of sweet and sour.